Resource Scheduling 101: Time- vs. Resource-Constrained
Software Development

Introduction
Every project manager has felt the squeeze: a looming deadline on one side and limited people or equipment on the other. Resource scheduling is the discipline that helps you balance these competing demands. Done well, it keeps projects realistic, prevents team burnout, and ensures deadlines are achievable. In this guide, we’ll break down resource scheduling from the ground up – what it is, why it matters, the two dominant methods (time-constrained vs. resource-constrained scheduling), and how to apply them in practice. You’ll also find a step-by-step process and a simple template you can start using today to plan your projects. (No fluff, just practical insights – let’s dive in.)
What is Resource Scheduling?
Resource scheduling is the process of assigning and allocating your resources (people, equipment, facilities, budget) to project tasks over time. In other words, it answers: “Who is doing what, and when?”
Key goals of resource scheduling:
- Avoid Over-Allocation: Prevent situations where one person or machine is booked for two things at the same time (or booked so heavily that it’s impossible to actually get everything done). Over-allocating leads to stress, delays, or quality issues when reality catches up.
- Maximize Utilization (Productively): On the flip side, you want to use resources efficiently – if someone has a unique skill, you’d like to keep them engaged on tasks that need that skill rather than sitting idle. The trick is to do this without overloading them (aim for a balance, often around 80% utilization as a safe planning figure, leaving buffer for the unexpected). For maximizing sustainable utilization in services, see PSA Scheduling in Professional Services: How AI & Smart Staffing Boost Utilization Without Burnout.
- Respect Task Dependencies: Scheduling ensures that tasks happen in a logical order, especially when some tasks can’t start until others finish. It’s not just about who but also when – making sure prerequisites are completed so downstream resources aren’t waiting around needlessly.
- Spot Conflicts Early: A good resource schedule will quickly show you if two high-priority projects are unknowingly planning to use the same limited resource at the same time next month. By visualizing and resolving these conflicts ahead of time, you avoid last-minute chaos.
In essence, resource scheduling connects the dots between your project plan (what work needs to be done) and your team’s availability (who can do it). It turns a project from a theoretical timeline into a realistic, actionable game plan. For visual planning of this schedule, see Gantt Chart vs. Timeline vs. Roadmap: When to Use Each.
Time-Constrained vs. Resource-Constrained Scheduling
When building a project schedule, you’ll generally approach it from one of two angles, depending on your priority:
1. Time-Constrained Scheduling – “The end date is fixed. We will do whatever it takes with resources to meet it.”
- In a time-constrained project, the deadline is usually immovable (e.g., a product launch tied to a conference, a regulatory compliance date, an event like the Olympics). The primary goal is to hit that date.
- How to achieve it? You throw resources at the problem. This might mean adding more people to critical tasks (if feasible), approving overtime, bringing in contractors, or increasing budget. The mantra is “meet the date, even if it costs more.”
- The risk here is budget overruns and team burnout. For example, to finish a software release by year-end, you might have developers working 60-hour weeks (not sustainable in long run) or hire expensive external consultants last-minute. It can get the job done but at a price.
- Use case: Time-constrained scheduling is common in events (the conference happens on X date no matter what), marketing campaigns (Black Friday sale date won’t move), or hard deadlines set by clients or regulators. In such cases, project managers monitor the critical path closely and add resources to ensure no critical task slips. (Remember Brooks’s Law though – adding manpower to a late software project can sometimes make it later – so add wisely!)
2. Resource-Constrained Scheduling – “We have fixed resources. The timeline will slide if necessary to accommodate that.”
- In resource-constrained projects, you’re limited by what you have – maybe it’s a set budget (can’t hire more people) or limited equipment (only two lab machines available) or simply a small team. The project end date is more flexible; it will be whatever the plan says given the resource limits.
- You focus on optimizing the sequence and usage of resources you have. If two tasks need the same person, you schedule them sequentially rather than concurrently, which might extend the project duration. The thinking is, “we’ll finish as fast as possible with our given resources, but we won’t over-commit beyond what we have.”
- The risk here is missing opportunity or stakeholder expectations if the timeline extends too much. Also, if not managed well, critical needs could starve (if a key resource is tied up elsewhere). But you avoid overspending and overworking the team.
- Use case: Resource-constrained approach is common in internal projects with fixed budgets, small businesses, or engineering projects with rare equipment. Also, in R&D environments – you might only have one subject matter expert on a topic, so you simply schedule all tasks requiring that expert in sequence because you can’t clone them or add another. The project end date might be later than ideal, but it’s understood given the constraints.
Many projects have elements of both – you might have a somewhat fixed end date and somewhat flexible resource pool. But identifying which constraint is tighter helps decide your scheduling strategy. For example, if both time and resource are constrained, you may need to adjust scope (the classic project triangle: if you can’t change time or resources, change scope).
Step-by-Step: How to Build a Resource Schedule
Let’s walk through creating a resource-loaded schedule, step by step:
Step 1: List All Tasks (Work Breakdown Structure) – Break the project into manageable tasks and deliverables. This is your Work Breakdown Structure (WBS). This clear task definition complements accountability charts like RACI vs. RASCI vs. DACI: The Right Model for Scheduling Decisions. For each task, note dependencies (Task B can’t start until Task A finishes, etc.). At this stage, focus on what needs to be done without assigning who yet. Example: Task A – Design logo; Task B – Develop website (depends on A); Task C – Testing (depends on B); Task D – Launch event prep (parallel to B perhaps).
Step 2: Define Your Resources – Identify the pool of resources you have. This includes team members (with their roles/skills), equipment, and any other key resource (like budget for outsourced work). Note any constraints: e.g., John (UI designer) is 50% available because he’s split with another project; or we have only 3 camera kits for video shoots. Also note calendars (upcoming holidays, PTO, etc., can reduce availability). Essentially, understand the capacity you’re working with.
Step 3: Estimate Task Durations and Effort – For each task, estimate how much work it is (effort in hours or days) and/or how long it will take (duration). Effort vs duration: if a task requires 5 days of effort for one person, that’s 5 days duration with one person full-time; but if two people can work in parallel, maybe it’s 2.5 days. Use historical data or expert input for better estimates. Add some buffer if you’re unsure – being realistic is key (common pitfall is assuming 100% productivity, whereas real-world might be 80%).
Step 4: Determine Constraint Priority – Decide if you’re treating the timeline or resources as fixed (from our discussion above). This will influence the next step. Mark clearly if any date is a must-hit or if any resource is strictly limited. For example, mark project finish “must be by Dec 1” (time constraint priority) or “cannot add more than 2 developers” (resource constraint).
Step 5: Assign Resources to Tasks – Now the puzzle-solving begins. Take each task and assign it to the appropriate resource(s) needed. If you’re doing it manually, a simple way is to create a table or use a Gantt chart tool where you place tasks along a timeline for each resource. Start scheduling tasks as early as possible (if you want the shortest project). If a resource is already booked, you may have to delay a task (resource-constrained scenario) or assign a different/additional resource (if time is priority). This is where resource leveling comes in: adjusting start/end dates of tasks to ensure no resource is overbooked. Tools like MS Project, Smartsheet, or others can automatically level resources – they’ll push tasks out until the resource is free if needed.
Step 6: Check and Resolve Conflicts – Look at each resource’s timeline. Are there overlaps where the same person is double-booked? Adjust. Are there too many tasks coinciding (even if different people) that might strain something like testing environment availability? Adjust that too. If using software, it might flag over-allocations in red. Resolve those by either shifting tasks or altering assignments. In a time-constrained mode, you might resolve by adding another resource to split the work (if one person can’t do 2 things at once, maybe assign part to someone else or bring in help). In resource-constrained, you likely slide one task later.
Step 7: Analyze the Critical Path and Slack – Once scheduled, identify the critical path (the longest chain of tasks that determines the project finish date). See how resource allocation affected it. Also compare with Critical Path Method (CPM): Fast, Visual Scheduling for Busy Teams for insights on critical tasks. Sometimes resource constraints can create a different critical path than the pure task dependency critical path, because waiting for a resource can delay something. Note tasks that have slack (float) – those can shift if needed without affecting end date. This helps you know where you have flexibility if something comes up.
Step 8: Communicate & Get Buy-In – Share the draft schedule with team members and stakeholders. It’s important to validate that assignments are realistic. A developer might say “Task X shows 3 days for me, but given our other work it should be 5.” Or “We’ve got Jane on two high-intensity tasks back-to-back with no break – that’s risky.” This feedback can help refine estimates and allocations. It’s better to tweak now than to discover issues during execution.
Step 9: Baseline the Schedule – Once everyone agrees, set it as the baseline. This is your committed plan against which you’ll track progress. In your tool or document, note the baseline dates and assignments.
Step 10: Track & Adjust Weekly (or Daily) – As the project runs, things will change – people get sick, tasks take longer, new tasks emerge. Continuously update the schedule. If one task runs late, see how it affects others: do you need to reprioritize resources to catch up, or inform stakeholders the date might slip? Use your scheduling approach consistently: if time is the priority, you might add resources or work overtime to hit the date; if resources are fixed, you may slide the schedule and communicate impact. A living schedule is a powerful tool – it lets you play out “what if” scenarios. For instance, if a new task is added, you can immediately see which milestone might slip or which resource needs reallocation, rather than guess.
By following these steps, you create a balanced resource schedule that acknowledges reality (limited people and time) while aiming for project success. It’s part science (using data and tools) and part art (incorporating human factors and uncertainty).
Example Scenario
Let’s illustrate with a simple scenario: Launching a new website.
- Scope Summary: Design and launch a marketing website in 8 weeks.
- Team: 1 designer (Sam), 2 developers (Alex and Jamie), 1 content writer (Lee), and a shared QA tester (Kim, who is only half-time on this project).
- Constraints: Ideally launch in 8 weeks (time is somewhat important, perhaps tied to a product debut). But you cannot get additional developers (resource fixed there). Some overtime is acceptable but limited.
Tasks Breakdown: (simplified)
- Design homepage and template – Assigned to Sam (Designer) – Estimate 1.5 weeks. Dependency: none (start immediately).
- Approve design – Stakeholder review – 0.5 week – Dependent on task 1.
- Develop front-end HTML/CSS – Alex (Dev) – 2 weeks – Dependent on task 2.
- Develop back-end integration – Jamie (Dev) – 2 weeks – Can start after some design elements are known, say dependent on task 2 as well.
- Create content – Lee (Writer) – 1.5 weeks to draft all pages – Could start once design is underway, no hard dependency, but let’s say starts after design approved (task 2) to use final design for content layout guidance.
- QA Testing – Kim (QA) – 1 week – Dependent on both dev tasks (3 & 4) and content to be in place.
- Fix bugs from QA – Alex & Jamie (Devs) – 1 week – Dependent on QA findings.
- Launch – – dependent on bug fixes done.
Now, scheduling:
- Week 1-2: Sam designs. (Sam booked 100% on task 1)
- Mid Week 2: Stakeholders approve design (Sam perhaps free after week 2). Lee starts writing content right after approval (week 3).
- Week 3-4: Alex coding front-end, Jamie coding back-end, in parallel. (Both devs 100% utilized those weeks). Lee writing content during weeks 3-4 (assuming design approved, they can work parallel to dev a bit).
- Week 5: Dev work wrapping up. Let’s assume by end of week 4 dev tasks done. Content done by mid week 4 (1.5 weeks from mid week3 to end of week4).
- Week 5: QA starts testing the integrated site with content (Kim 50% available, so if QA needs a full week of effort, might take 2 calendar weeks at 50% – but let’s say Kim dedicates that week fully to us, or we extend into week6).
- Week 5-6: While QA finds bugs, Alex & Jamie can’t fully start fixes until QA reports a bunch, but maybe there’s some stagger. If QA is resource-constrained (Kim half-time), it might prolong test period.
- Week 6: Bug fixing by devs. If Alex and Jamie are free earlier (say dev finished by end wk4, QA took wk5-6), maybe they start bug fixes end of wk5 as issues come in, finishing by mid wk6.
- Launch end of Week 6 or 7.
Check constraints: If launch must be end of week 6 hard, maybe we have testers work overtime or bring a second QA to compress testing. If resources fixed, we slide launch to week 7 to accommodate QA bandwidth.
We would present this as a Gantt chart usually, to visualize overlaps. In a time-constrained scenario (must launch in 6 weeks instead of 8 now maybe): you’d crash the schedule by perhaps overlapping content creation earlier (could have Lee start drafting basic content even before design fully approved, to save time, accepting some rework risk) and bring in an extra tester to finish QA in 3 days instead of 5.
In a resource-constrained acceptance (okay to slip to week 7 or 8): you’d keep one tester, maybe sequence dev bug fixes one after the other if they both rely on one test environment, and communicate new launch of week 8 which is fine.
This example shows how you’d shuffle tasks and resources depending on priorities.
Common Pitfalls in Resource Scheduling
Even with a good plan, there are traps project managers fall into:
- Over-optimism: Assuming people can be booked 100% on project work 8 hours a day. In reality, people have meetings, administrative tasks, or might get sick. A rule of thumb is to schedule at no more than 80-90% capacity for each person. Also, avoid scheduling someone on two “full-time” tasks at once – it’s tempting to overlap tasks assuming “they can multitask,” but each task will likely suffer. Use buffer and realistic utilization rates.
- No Buffers or Slack: If your schedule has zero wiggle room, any delay will cascade. Projects need contingency. It can be at task level (padding a bit each estimate) or a general buffer task (like a “contingency” task at end of critical path). Also, remember not to book people right up against previous tasks – give a little space because tasks often spill over.
- Ignoring Time Off and Other Work: It’s a common oversight to forget that a key resource has a week of vacation during the project, or that they’re split with another project 50%. Always integrate non-project time into the schedule. If your dev is only 50% on this project, either double their task durations or only schedule tasks for half-days in your tool.
- Siloed Planning: Not coordinating with other project managers or teams on shared resources. You might think you have John 100%, but another PM also booked John 100% in the same period. If there’s no central view, this conflict emerges late. The solution is to have a resource management system or regular inter-project resource meetings for visibility. Also, communicate early with line managers about upcoming needs.
- Static Schedule (Set and Forget): A schedule that isn’t updated once the project starts is almost as bad as no schedule. Things change – if you don’t adjust the plan, it becomes fiction and you lose credibility. Use it in status meetings. Adjust dates and resource allocation as changes happen, and note impact. A living schedule helps drive decision-making (“We need two extra days from QA; can we accept a 2-day slip or crash somewhere else?”).
- Tool Overcomplication: Sometimes, using a complex tool without understanding it can lead to automated moves you don’t notice (like auto-resource-leveling that pushes tasks out but you didn’t realize). Make sure you understand your scheduling tool’s settings or keep it simple in Excel if needed. The complexity should serve you, not confuse you.
Resource scheduling isn’t just a bureaucratic exercise – it’s a critical safeguard for both delivery and team well-being. By clearly deciding whether your project is constrained by time or by resources, you set the guiding principle for making trade-offs. Then, by following a structured scheduling process, you can communicate transparently with stakeholders about what’s possible and keep execution on track.
Start small if you’re new to this: maybe create a resource schedule for just one phase of a project, or use a basic template to plot out a two-week sprint. Get a feel for identifying conflicts and adjusting. As you practice, resource scheduling will feel less like a balancing act on a tightrope and more like a powerful instrument – giving you a helicopter view of your project and the means to navigate it to a safe landing.
Key Takeaways:
- Understand Your Constraint: Decide early if hitting a fixed deadline (time constraint) is the driver or if working within fixed team capacity (resource constraint) is the priority. This clarity guides whether you’ll flex resources or accept timeline changes when conflicts arise.
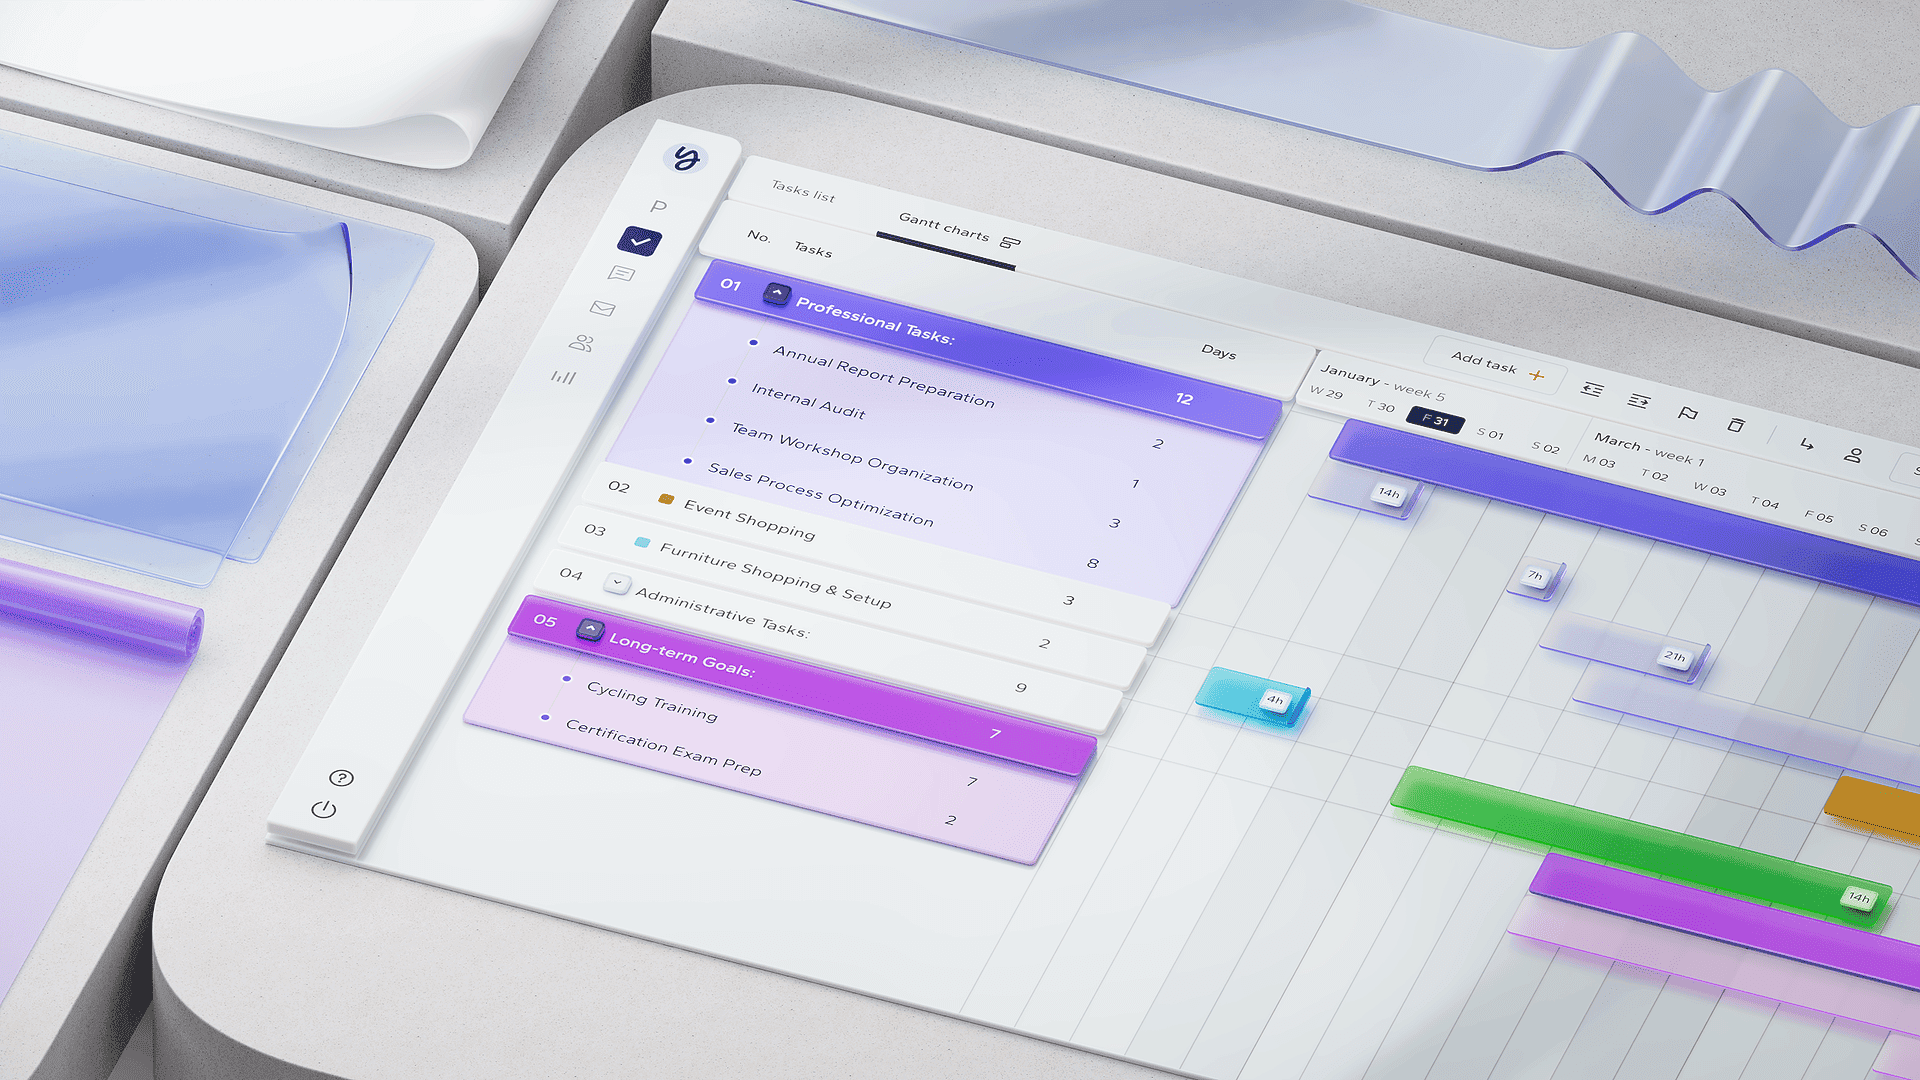
- Build a Visual Schedule: Use a Gantt chart or similar tool to map tasks against a timeline with resource assignments. This visualization helps spot overallocation (someone double-booked) and gaps. Adjust by leveling resources – either staggering tasks or bringing in help.
- Don’t Schedule at 100% Capacity: People aren’t robots. Aim for ~80% max utilization per person to allow for emails, breaks, unforeseen issues. Also factor in known holidays or other duties. Overstuffing the schedule will backfire with delays and burnout.
- Resource Leveling Prevents Burnout: Continuously monitor for over-allocations. For example, if your QA tester is needed by two teams at once, shift one team’s testing a week later (if timeline allows) so the tester can do both properly. This may extend the schedule, but it’s better than a testing crunch or missed defects.
Adjust and Communicate: Treat your resource schedule as a living plan. Update it when tasks slip or change, and immediately note the impact on deadlines or other tasks. Use these updates in team and stakeholder communications – e.g., “Task X took 2 extra days, so we’ve reassigned Y to keep the launch on track” or “We’ll need to extend by 2 days because the specialist is out sick.” Transparent scheduling builds trust that the project is under control even when things change.